Steps 1-7
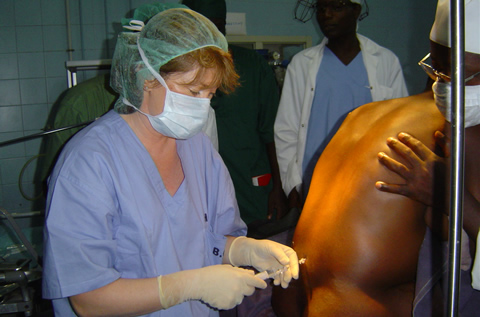
These three tabs outline the sequence of steps needed to perform a spinal anaesthetic.
| Step 1 |
Place a large bore IV line in the patient’s vein and connect fluids |
| Step 2 |
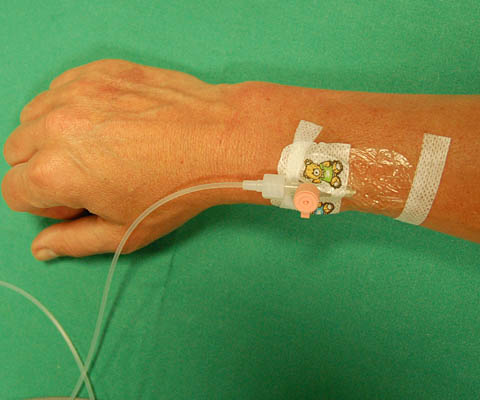
These three tabs outline the sequence of steps needed to perform a spinal anaesthetic.
| Step 1 |
Place a large bore IV line in the patient’s vein and connect fluids |
| Step 2 |
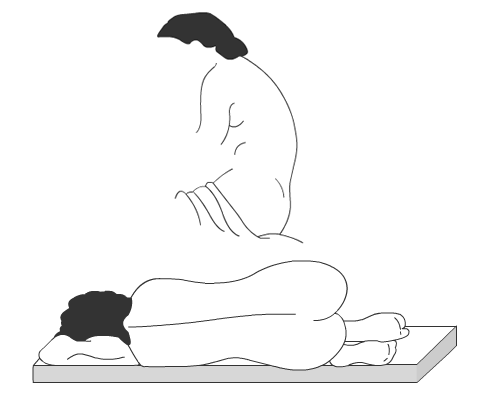
Position the patient (lateral or sitting) |
| Step 3 |
These three tabs outline the sequence of steps needed to perform a spinal anaesthetic.
| Step 1 |
Place a large bore IV line in the patient’s vein and connect fluids |
| Step 2 |
Position the patient (lateral or sitting) |
| Step 3 |
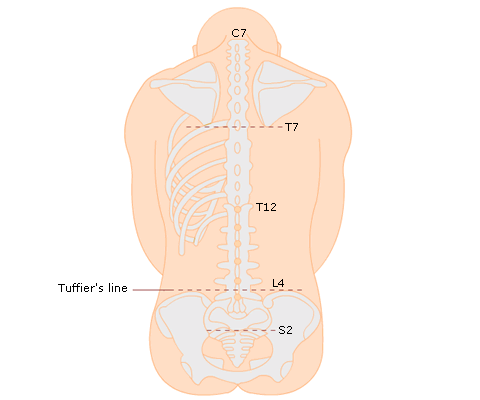
Identify and mark relevant lumbar interspace (L3/4 or L4/5) and the midline |
| Step 4 |
Put on theatre hat and mask, scrub up and put on sterile gown and gloves |
| Step 5 |
Prepare the skin with an alcohol or iodine based skin preparation |
| Step 6 |
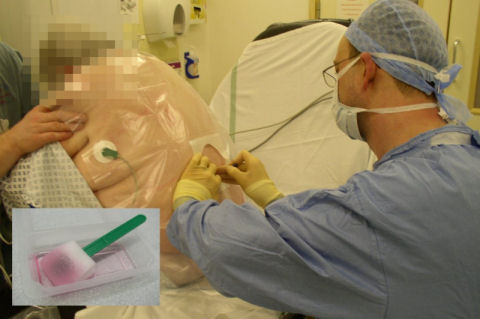
Draw up intrathecal drugs using a filter needle |
| Step 7 |
Infiltrate the skin with 2-5 ml lidocaine 1% using a 25 g needle at the midpoint of the interspace |
Select the Steps 8-11 tab to continue.
Steps 8-11
| Step 8 |
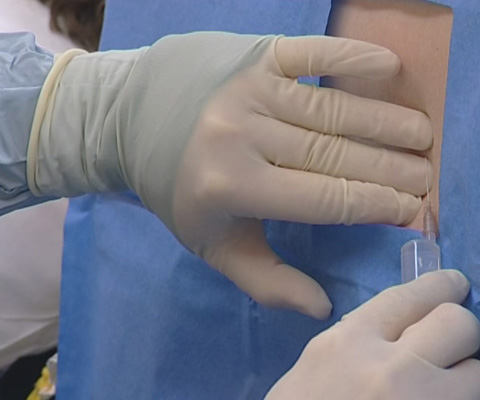
Insert the introducer of the spinal needle until it is firmly gripped in the interspinous ligament |
| Step 9 |

| Step 8 |
Insert the introducer of the spinal needle until it is firmly gripped in the interspinous ligament |
| Step 9 |
With the aperture directed cephalad (facing towards the patients’s head) carefully insert the spinal needle identifying the anatomical layers by “feel” during insertion |
| Step 10 |
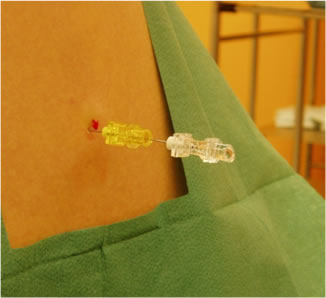
If bone is encountered before the ligamentum flavum, remove the needle and withdraw the introducer almost to the skin then redirect either upwards or downwards before inserting the spinal needle |
|
|

| Step 8 |
Insert the introducer of the spinal needle until it is firmly gripped in the interspinous ligament |
| Step 9 |
With the aperture directed cephalad (facing towards the patients’s head) carefully insert the spinal needle identifying the anatomical layers by “feel” during insertion |
| Step 10 |
If bone is encountered before the ligamentum flavum, remove the needle and withdraw the introducer almost to the skin then redirect either upwards or downwards before inserting the spinal needle |
|
Step 11 |
When the ligamentum flavum is felt, push the needle forwards a couple more millimeters until a gentle pop is felt |
Select the Steps 12-15 tab to continue.

Steps 12-15
| Step 12 |
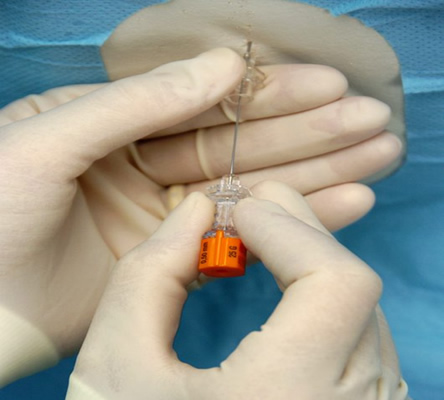
Remove the stylet of the spinal needle - appearance of CSF in the hub of the needle confirms correct placement |
| Step 13 |
|

| Step 12 |
Remove the stylet of the spinal needle - appearance of CSF in the hub of the needle confirms correct placement |
| Step 13 |
Stabilize the needle with the back of the hand holding the needle braced against the mother’s back |
| Step 14 |
|
| Step 12 |
Remove the stylet of the spinal needle - appearance of CSF in the hub of the needle confirms correct placement |
| Step 13 |
Stabilize the needle with the back of the hand holding the needle braced against the mother’s back |
| Step 14 |
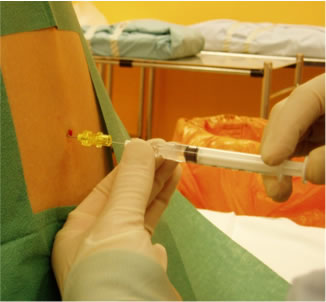
Confirm CSF by gently aspirating on the syringe just before injection |
| Step 15 |
|
| Step 12 |
Remove the stylet of the spinal needle - appearance of CSF in the hub of the needle confirms correct placement |
| Step 13 |
Stabilize the needle with the back of the hand holding the needle braced against the mother’s back |
| Step 14 |
Confirm CSF by gently aspirating on the syringe just before injection |
| Step 15 |
Remove syringe, needle and introducer as one at the end of the injection |
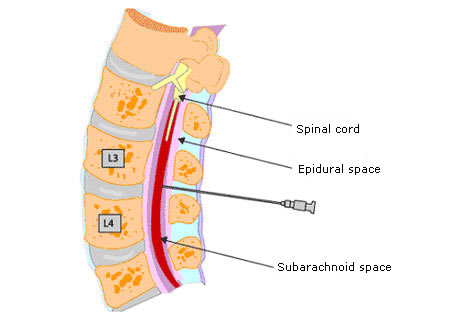
Fig 1 illustrates the correct needle placement for spinal anaesthesia.
